(klik di sini untuk bhs Indonesia)
The success of 2D to 3D conversion is when to interpret logically the image which you want to convert into stereo images. The following article is a continuation of the article Converting 2D photos to 3D ( in Bahasa Indonesia). Here will be explained further on how to create a depth map as ‘realistic’ as possible.
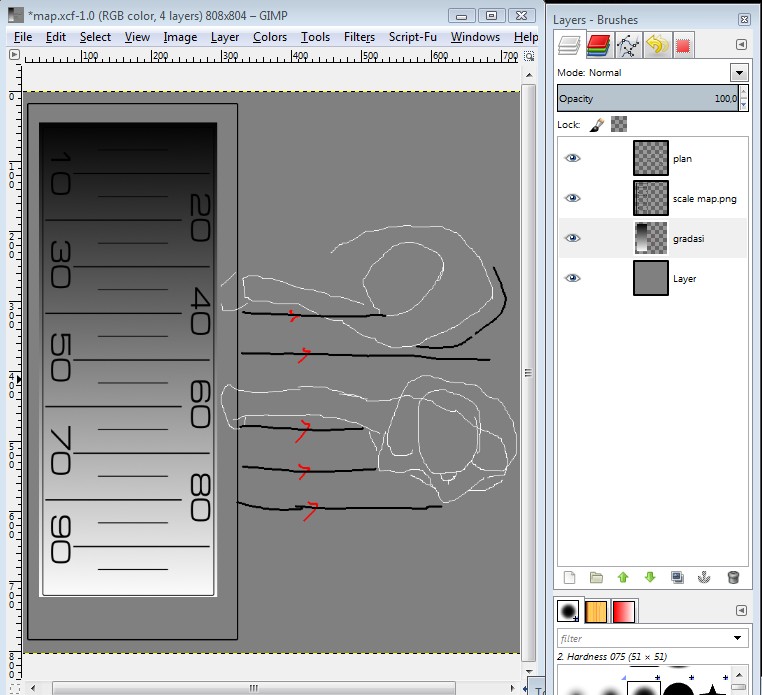
Depth map
Let’s observe the depth map at this picture, it looks like a contour map in which areas have the same depth will be represented by the same level of grayish. Not hard to understand if you are familiar with contour maps. The lines with specific value on a contour map shows that the same altitude on a surface.

Step by step, how to create a depth map
FIRST, to simplify creation of the depth maps and interpretation of flat images (2D). First of all, is to design the contour lines. Below is the closest interpretation of the depth which is represented by contour lines.

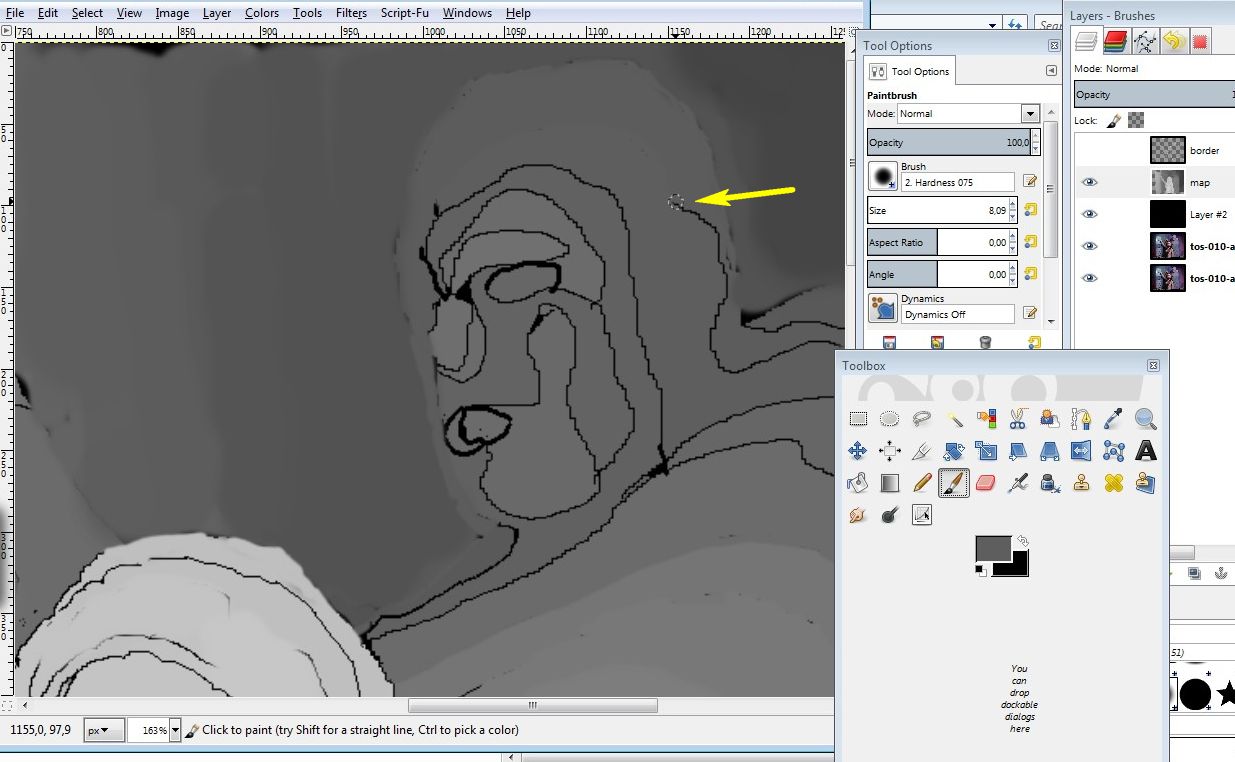
Note : Make sure that each contour is a closed curve. This will make it easier later on when filling the gray color using ‘bucket fill tool’ in GIMP. Preparation of contour lines is placed on its own layer.
SECOND, Making a simple sketch of the top view (top view) to help determine the level of grayish with a definite and consistent scale.
THIRD, Next, fill with color contour curves suited with a specified gray level. See the example below, sketch sleeve dress on ‘the second man’ is filled with gray scale 50.

Remember, the depth map image is created in separate layer with a layer ‘contour lines’. Continue filling the gray level at the next curve.
FOURTH,Once completely filled, then the next step to fill the gap with gray adjacent to the gap. Then, Proceed the Gaussian blur to get a final depth map before executing the displacement (shifting) pixel. The value of Gaussian is only for eliminating the edge of each gray level. Not to much!
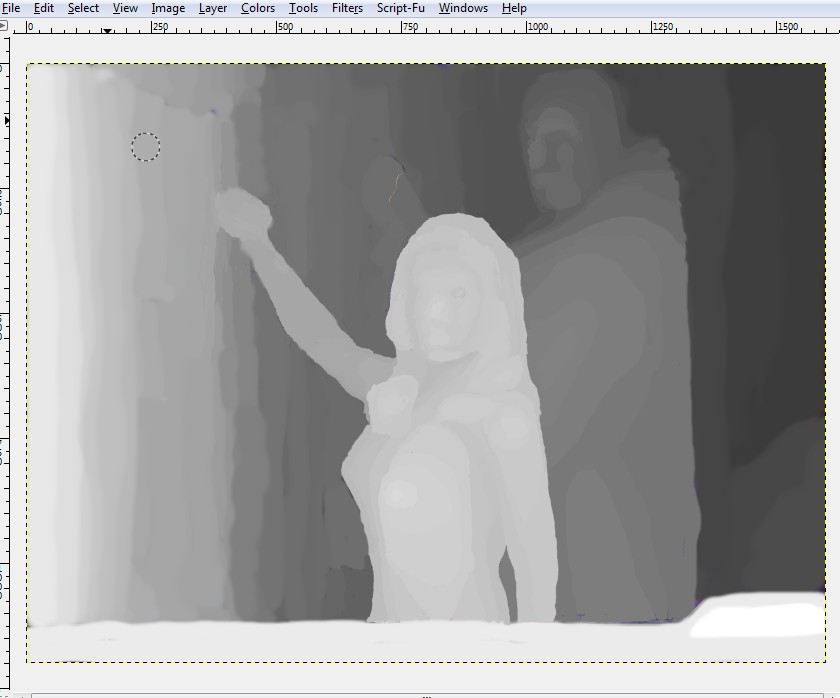
Finally, the depth map from 2D images has been completed. Please observe the final depth map above: the deeper object (away) appear darker. This depth map will be used by the GIMP application to shift the pixels. How to shift the pixels can be read at this link Converting 2D to 3D (in Bahasa Indonesia) .
Note :
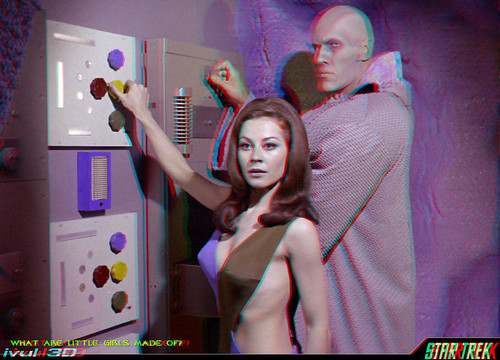
the original 2D image link can be found in my flickr, click the photo below:
at Phereo
http://phereo.com/e/embed/5422bf15d475febb420000f9/sidebyside/


Tinggalkan komentar